Create a Pages website from a forked sample (FREE)
GitLab provides sample projects for the most popular Static Site Generators (SSG). You can fork one of the sample projects and run the CI/CD pipeline to generate a Pages website.
Fork a sample project when you want to test GitLab Pages or start a new project that's already configured to generate a Pages site.
Watch a video tutorial of how this works.
To fork a sample project and create a Pages website:
- View the sample projects by navigating to the GitLab Pages examples group.
- Select the name of the project you want to fork.
- In the top right, select Fork and then choose a namespace to fork to.
- For your project, on the left sidebar, select CI/CD > Pipelines and then Run pipeline. GitLab CI/CD builds and deploys your site.
The site can take approximately 30 minutes to deploy. When the pipeline is finished, go to Settings > Pages to find the link to your website from your project.
For every change pushed to your repository, GitLab CI/CD runs a new pipeline that immediately publishes your changes to the Pages site.
You can take some optional further steps:
-
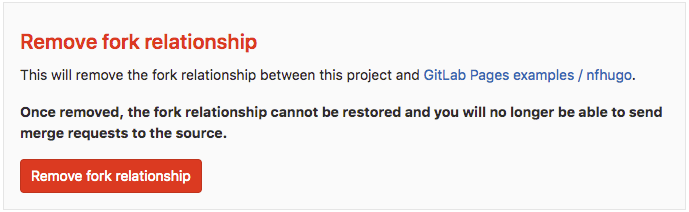
Remove the fork relationship. If you want to contribute to the project you forked from, you can keep this relationship. Otherwise, go to your project's Settings > General, expand Advanced settings, and scroll down to Remove fork relationship:

-
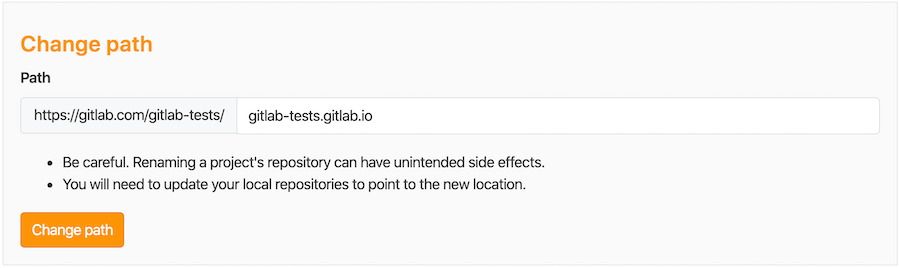
Change the URL to match your namespace. If your Pages site is hosted on GitLab.com, you can rename it to
<namespace>.gitlab.io, where<namespace>is your GitLab namespace (the one you chose when you forked the project).-
Go to your project's Settings > General and expand Advanced. Scroll down to Change path and change the path to
<namespace>.gitlab.io.For example, if your project's URL is
gitlab.com/gitlab-tests/jekyll, your namespace isgitlab-tests.If you set the repository path to
gitlab-tests.gitlab.io, the resulting URL for your Pages website ishttps://gitlab-tests.gitlab.io. -
Now go to your SSG's configuration file and change the base URL from
"project-name"to"". The project name setting varies by SSG and may not be in the configuration file.
-